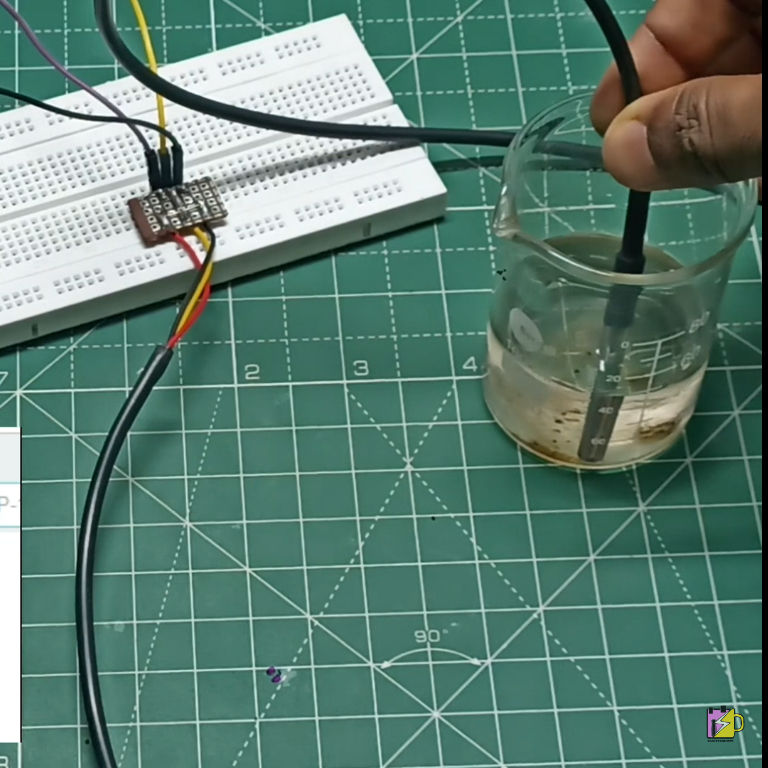
Getting Started with DS18B20 Temperature Sensor
This guide provides a clear, step-by-step process for getting started with the DS18B20 sensor and Arduino, making it easy for beginners to follow and understand.
Description:
The DS18B20 is a popular temperature sensor that provides accurate and reliable temperature readings in a variety of projects. In this guide, we’ll walk you through the steps to get started with the DS18B20 sensor and an Arduino board.
Materials Needed:
- Arduino board (e.g., Arduino Uno)
- DS18B20 temperature sensor
- 4.7k ohm resistor
- Breadboard and jumper wires
- Arduino IDE (installed on your computer)
Step 1: Understanding the DS18B20
The DS18B20 is a digital temperature sensor that communicates over a 1-Wire bus, requiring only one data line for communication. It can measure temperatures in the range of -55°C to +125°C with an accuracy of ±0.5°C.
Step 2: Wiring the DS18B20
First, identify the pins on the DS18B20:
- GND: Ground
- DQ: Data (1-Wire)
- VDD: Power (3.3V to 5V)
Now, connect the DS18B20 to the Arduino as follows:
1. Connect the GND pin of the DS18B20 to the GND pin on the Arduino.
2. Connect the VDD pin of the DS18B20 to the 5V pin on the Arduino.
3. Connect the DQ pin of the DS18B20 to digital pin 2 on the Arduino.
4. Place a 4.7k ohm resistor between the DQ pin and the VDD pin to act as a pull-up resistor.
Step 3: Installing the Required Libraries
To communicate with the DS18B20, you’ll need the OneWire and DallasTemperature libraries. Open the Arduino IDE and install these libraries:
1. Go to Sketch > Include Library > Manage Libraries.
2. Search for "OneWire" and install the library by Paul Stoffregen.
3. Search for "DallasTemperature" and install the library by Miles Burton.
Step 4: Writing the Code
Create a new sketch in the Arduino IDE and enter the following code:
Step 5: Uploading the Code
1. Connect your Arduino to the computer using a USB cable.
2. Select the appropriate board and port from the Tools menu in the Arduino IDE.
3. Click the Upload button to upload the code to the Arduino.
Step 6: Monitoring the Output
Once the code is uploaded, open the Serial Monitor from the Tools menu. Set the baud rate to 9600. You should see the temperature readings from the DS18B20 sensor displayed in the Serial Monitor.
Project Gallery
Video Tutorial :
Conclusion :
You’ve successfully set up the DS18B20 temperature sensor with your Arduino! Now you can integrate this sensor into various projects, such as weather stations, HVAC systems, or any application that requires accurate temperature monitoring. For more project ideas and tutorials, visit our website and explore Skill-Hub by EmbeddedBrew to enhance your embedded systems skills. Happy coding!


